


I was able to go down to my parents' house for the past week and as a result, I got a craft project done! First off, this was inspired by flylady.net My cousin mentioned fly lady on her blog one time and I had no idea what she was talking about so I googled it. She has this list of Beginner Babysteps to keeping your house and life organized. It was exactly what I needed!
So I wanted a way to organize my chores so I would actually do all of them. Enter my chore board!
I've been hearing everyone talk about Habitat Restores so I checked it out and found one semi-near my mom's house. We went down there and they had such cool stuff! I settled on an old cabinet door to use as my chore board. I REALLY lucked out with the paint color and how well painted it was so I didn't end up having to paint the cabinet door! Here's what I started out with:

Ignore the big hole where the handle originally was; it will be covered up later.
So first off I sanded down the edges some, although that didn't turn out to be too important of a step. I had some Dark Walnut stain (can't remember which brand) and rubbed it on the frame part.

One layer wasn't dark enough so I did two and it was perfect. I think this next picture is after one coat

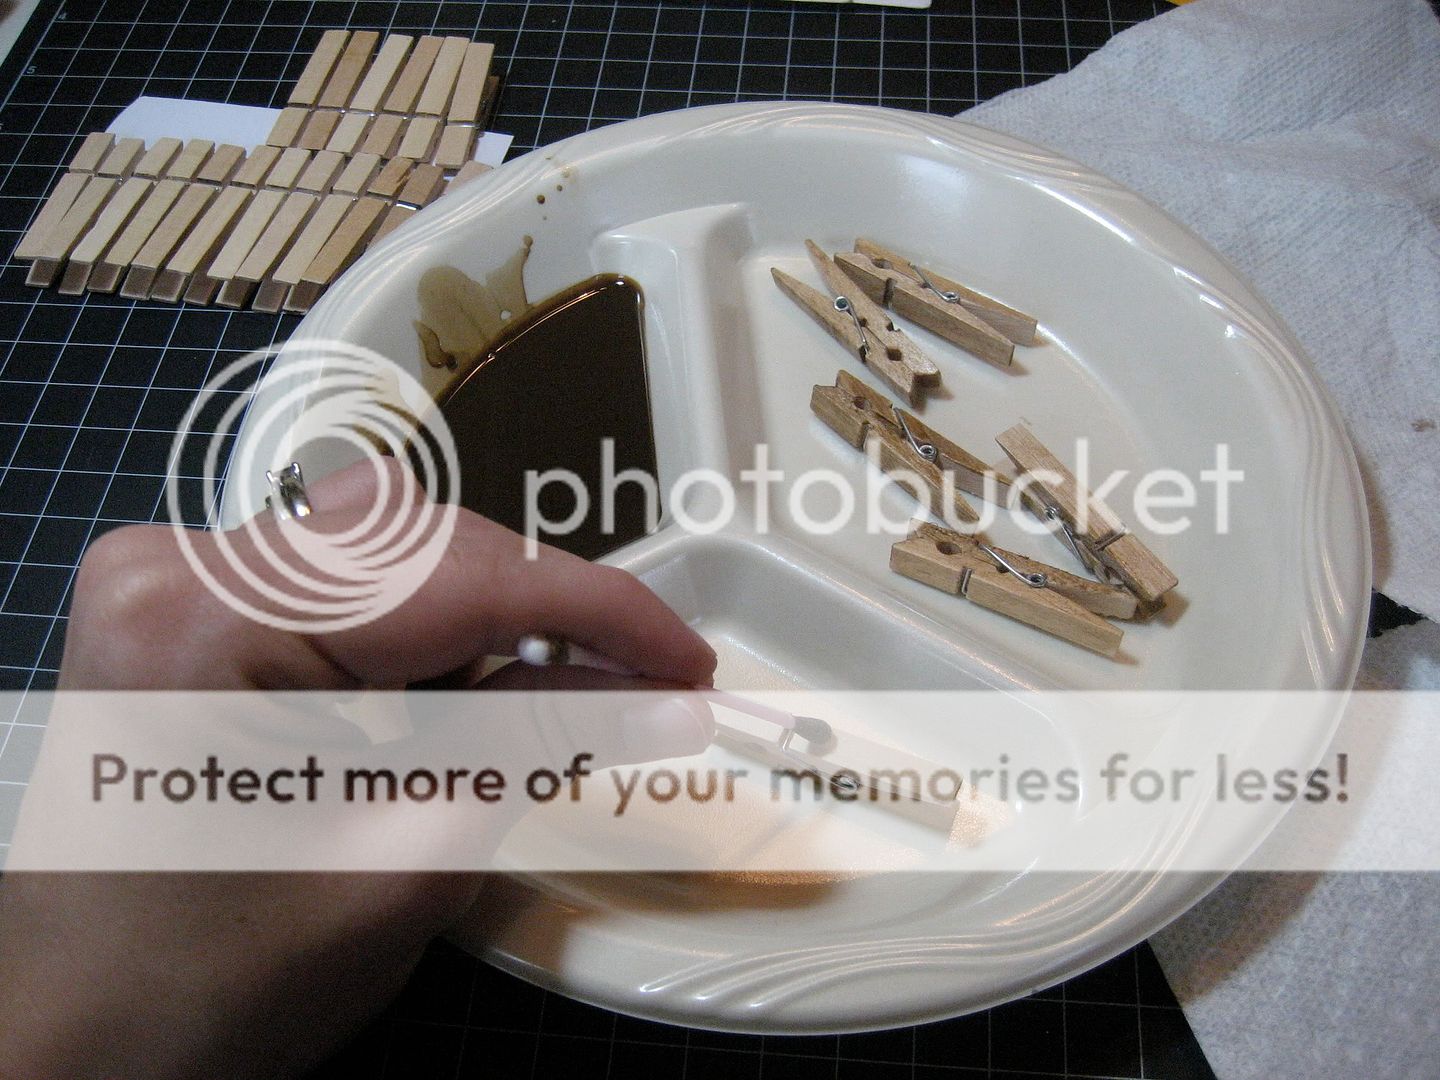
While that was drying, I stained some mini clothespins with the same Dark Walnut stain. I ended up just using cotton swabs to put the stain on and it worked great.
I had some natural jute and some wicker baskets from hobby lobby and nailed them on with some half inch nail tacks like so:

Notice how the basket covers up that huge hole? Now onto the chores. My mom is a HUGE scrapbooker. I don't mean SHE'S huge but her scrapbooking's huge :). So the easiest thing to use for the chores was scrapbook paper and her cricut. I didn't care too much about what they looked like. The goal is to get them off the board as soon as possible! I ended up laminating them for extra protection and I made some blank ones and laminated them so I can write non everyday chores on them like doctors appointments, etc.

And the final product.......!!!!!!!!

I keep the chore cards in the basket on the right and the index cards (with kelly's missions written on them - look at day 13 of beginner babysteps) and clothespins in the basket on the left. I LOVE LOVE LOVE it! It turned out exactly how I imagined it! I was going to put some hooks along the bottom to hold keys, name badges, etc but ended up deciding against it because I didn't have the stuff I needed to paint them the right color.
Let me know what you think and what you would do differently to make it better fit YOUR needs.
TFL and Lots of Love!
Kimra
Linking to:


Love it!! I need one of those for ME. Seriously. :-)
ReplyDeleteIt looks great! I'm hosting We're Organized Wednesday until Saturday and would love for you to join the party. There's a great giveaway too. Hope to see you there.
ReplyDeletehttp://organizeyourstuffnow.com
This is awesome! I love Flylady too, but lately I have fallen out of my routines. This may be the kick in the butt I need to get started again!
ReplyDeleteI could so use one of these for myself :) It turned out great. Visiting from Just a Girl!
ReplyDeleteWow! What a great idea! Darling blog too, by the way! Thanks SO much for joining in on Thrilling Thursdays @ Paisley Passions. I love to see the creative talent of other fellow bloggers. Hope you to see you again soon :)
ReplyDelete~Lori S.
Thrilling Thursdays @Paisley Passions
What a great idea and it turned out just wonderful!
ReplyDeleteThanks so much for stopping by and commenting on the Ribbon Balls over at kentucky girl. I appreciate that!!