Saturday, September 25, 2010

Grownup Chore Board!

I was able to go down to my parents' house for the past week and as a result, I got a craft project done! First off, this was inspired by flylady.net My cousin mentioned fly lady on her blog one time and I had no idea what she was talking about so I googled it. She has this list of Beginner Babysteps to keeping your house and life organized. It was exactly what I needed!


So I wanted a way to organize my chores so I would actually do all of them. Enter my chore board!

I've been hearing everyone talk about Habitat Restores so I checked it out and found one semi-near my mom's house. We went down there and they had such cool stuff! I settled on an old cabinet door to use as my chore board. I REALLY lucked out with the paint color and how well painted it was so I didn't end up having to paint the cabinet door! Here's what I started out with:


Ignore the big hole where the handle originally was; it will be covered up later.

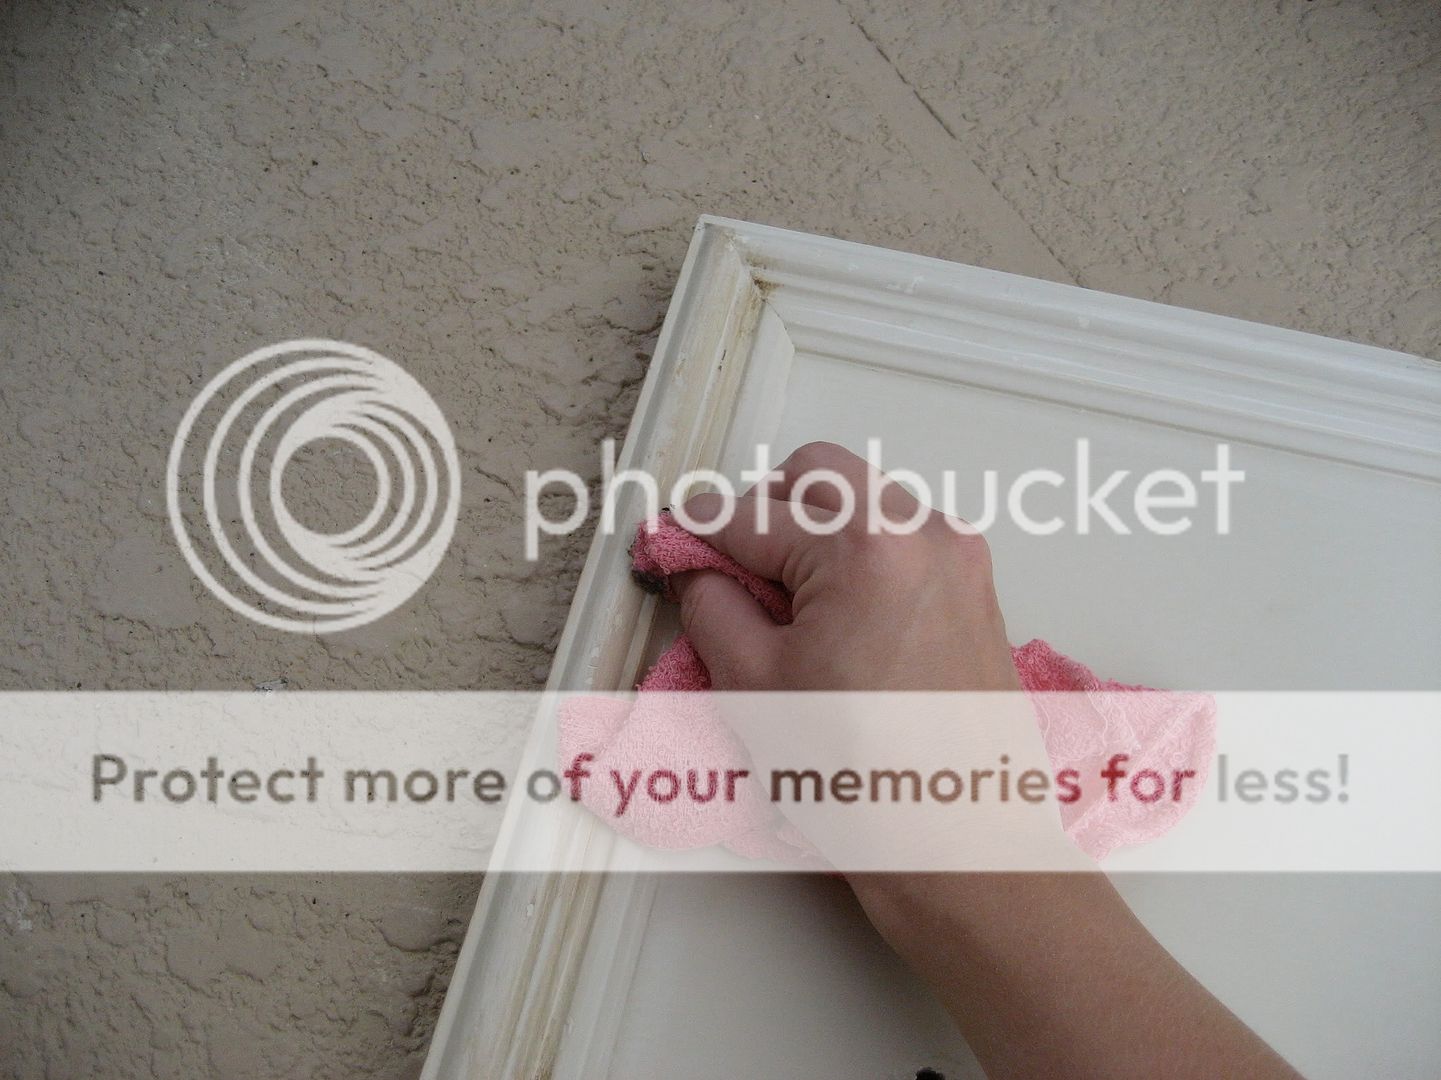
So first off I sanded down the edges some, although that didn't turn out to be too important of a step. I had some Dark Walnut stain (can't remember which brand) and rubbed it on the frame part.


One layer wasn't dark enough so I did two and it was perfect. I think this next picture is after one coat


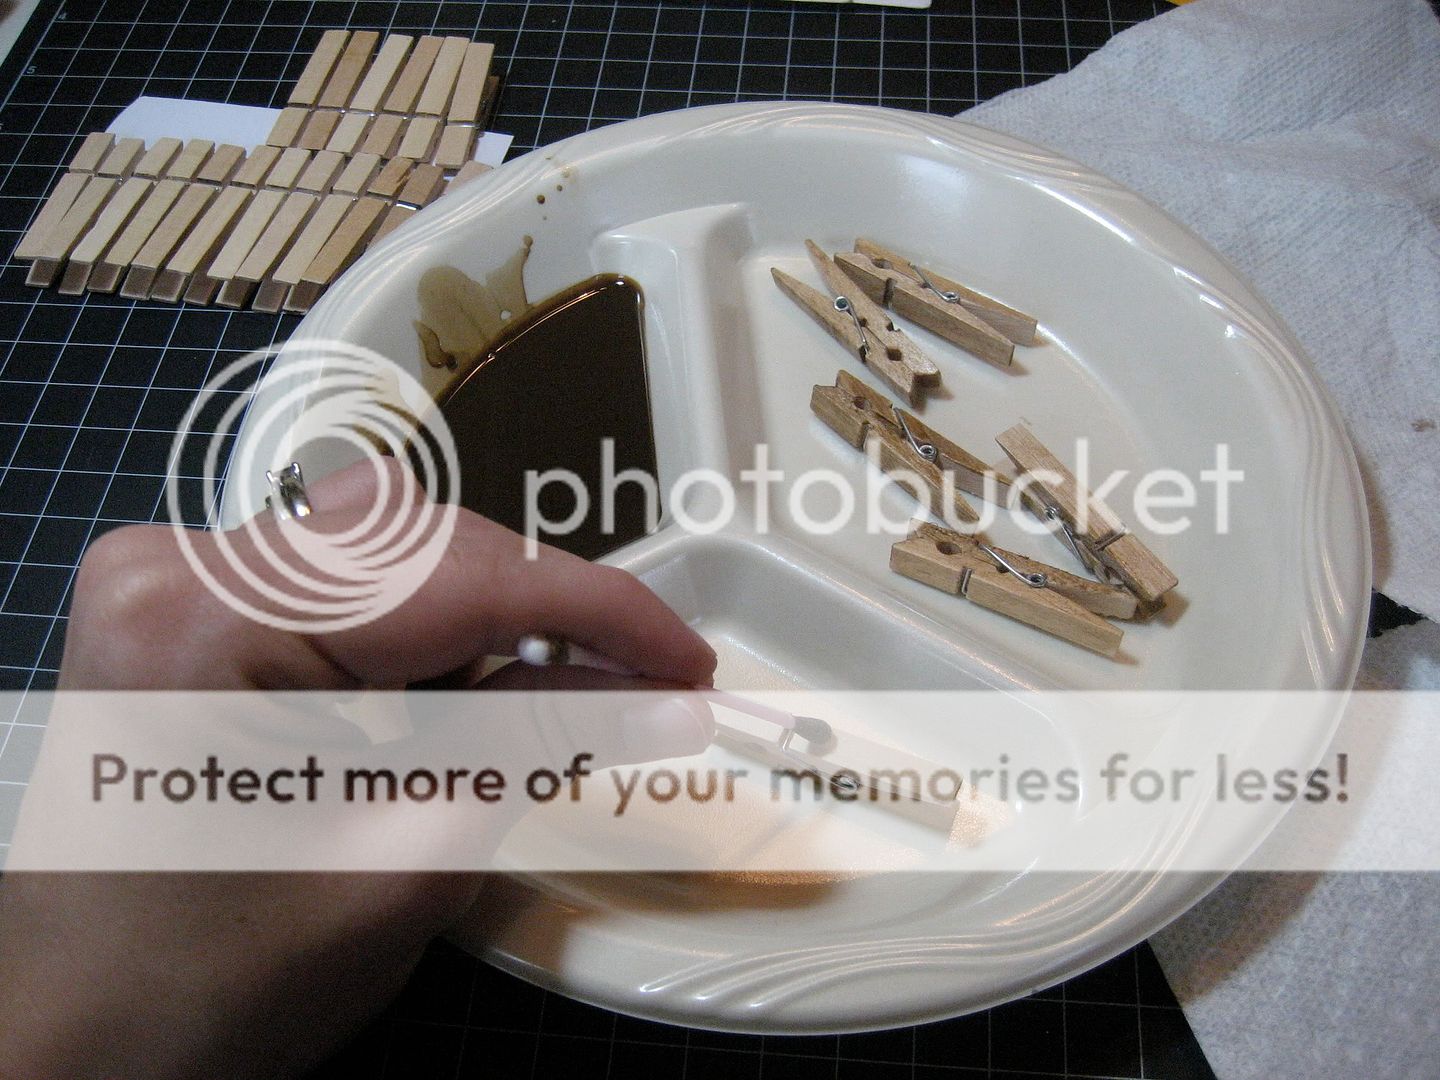
While that was drying, I stained some mini clothespins with the same Dark Walnut stain. I ended up just using cotton swabs to put the stain on and it worked great.



I had some natural jute and some wicker baskets from hobby lobby and nailed them on with some half inch nail tacks like so:


Notice how the basket covers up that huge hole? Now onto the chores. My mom is a HUGE scrapbooker. I don't mean SHE'S huge but her scrapbooking's huge :). So the easiest thing to use for the chores was scrapbook paper and her cricut. I didn't care too much about what they looked like. The goal is to get them off the board as soon as possible! I ended up laminating them for extra protection and I made some blank ones and laminated them so I can write non everyday chores on them like doctors appointments, etc.


And the final product.......!!!!!!!!


I keep the chore cards in the basket on the right and the index cards (with kelly's missions written on them - look at day 13 of beginner babysteps) and clothespins in the basket on the left. I LOVE LOVE LOVE it! It turned out exactly how I imagined it! I was going to put some hooks along the bottom to hold keys, name badges, etc but ended up deciding against it because I didn't have the stuff I needed to paint them the right color.

Let me know what you think and what you would do differently to make it better fit YOUR needs.

TFL and Lots of Love!
Kimra

Linking to:


Funky Junk's Saturday Nite Special

The Girl Creative

BCDgiveaways
Organize and Decorate Everything
BWS tips button

Friday, September 10, 2010

TUTORIAL and 2 sb pages

First off, the tutorial. I'm gonna show you how to customize digital scrapbook items to fit your needs! All of my stuff is done in Photoshop CS5. I'm going to be using a piece of background paper that looks like wood from the kit "Working Overtime" by MT Lane Designs. Apparently she no longer has a blog so I will link to the image in my own photobucket. Save it and use it to go along with me in the tutorial if you like.


*note: I always start off with a new document 12x12 inches at 300 dpi

I wanted the wood background, but I needed it in different proportions and in a different color. Here's what I did: (Click the photos to see larger image)

Original file:


First, I transformed the image to make skinnier wood planks. To transform an image, go to Edit>Transform>Free Transform and drag the points however you desire. Here's a tip - holding down SHIFT while dragging a corner point keeps the image's proportions. I did not want to keep the proportions so I simply 'squished' the image.


Next, I duplicated the layer.


Now I have 2 layers of the same image. Move one of these layers so that the last and first planks of wood overlap (this way you still get the dark line dividing the planks in all the right places). I highlighted my second layer green so you can see where I moved it.


Now, for that layer you just moved, you're gonna want to mess with it so it doesn't look like a repeating pattern. All I did was rotated it 180 degrees.


Repeat the duplicating and rotating until your page is filled. Here's what it looks like now


You're going to want to merge the layers together so it's just one image again. Select the layers by holding down control (PC) or command (Mac) and clicking on the layers. Right click then click Merge Layers


Now we're going to work on recoloring it. There are a thousand ways to go about doing this. Here's how I did it:

Desaturate the image to turn it to grayscale


Now create a new layer


Fill that layer with a color close to what you want the wood to be


Change that layer's blending mode to Multiply.


Here's what I got:


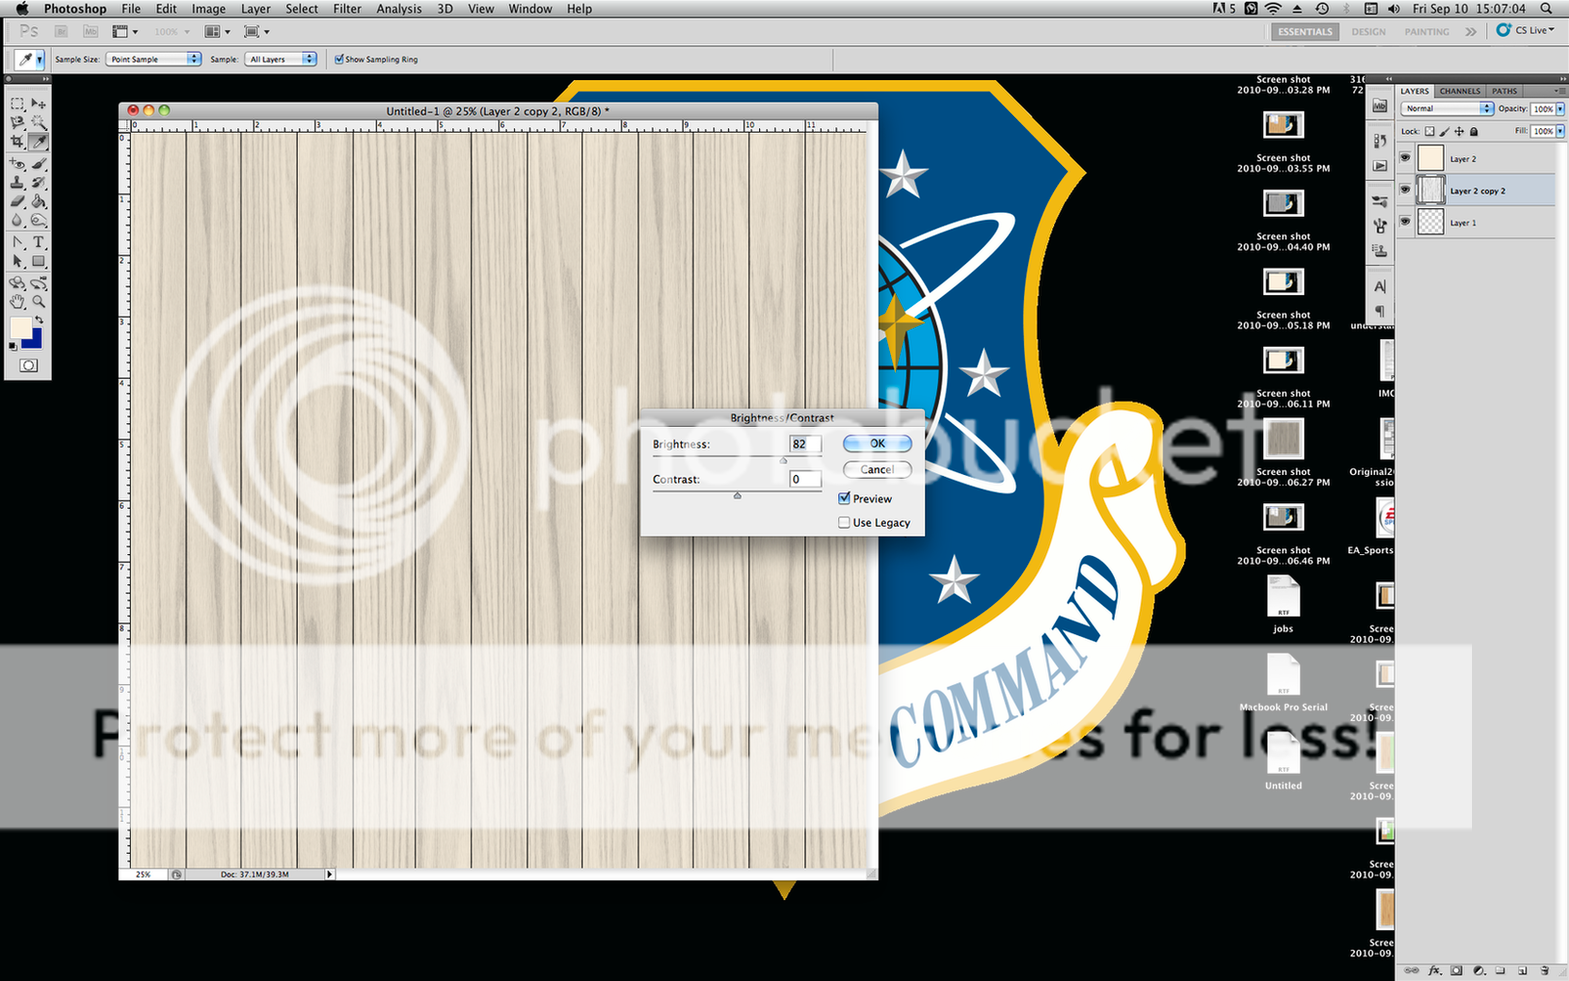
Now for the final customization! Click on your desaturated wood layer. Go to Image>Adjustments>Brightness/Contrast


Play with the brightness until you get the final color you want.


Thanks for stopping by! This was my first tutorial so let me know if I can clear anything up. And don't forget to visit my SITE!


Now for my scrapbook pages. One of which uses this new and improved background paper. I'm not sure yet if I like the swimming pool one. I was in a 'just get it done' mood rather than a 'make it perfect' mood. You might be seeing a remake of that one in the future.


^credits:
background - Working Overtime by MT Lane Designs
clothespin - Americana by Ziggy Fan Scraps
string - Buddy Boy by CuddleBeez Scraps


^credits: Splash Kit by The Scrapping Sisters
clip - Daditude by Peppermint Creative


Linking to:

Join  us Saturdays at tatertotsandjello.com for the weekend wrap up         party!
giveaways

Saturday, August 14, 2010

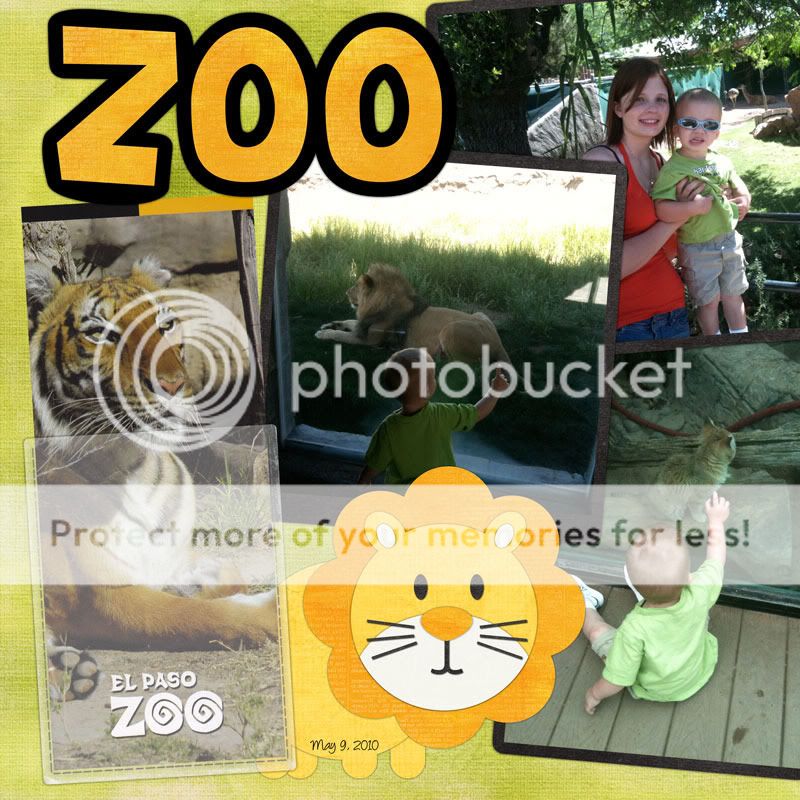
zoo

^credits:

clear pocket - What’s in Your Pockets? by Katie Pertiet

zoo wordart from Word Art World by Jennifer

orange paper - Color Theory in Orange by TLC designs

yellow paper - Blast Off by Jodi from Ginger Scraps

cream paper - Valentine’s Day by Sweet Tweet Designs

green paper - To the Moon & Back by Amanda Dykan

black paper - Essential Blacks by Emily Giovanni


And check out this blog background I made! Don't forget to visit my site: KimrasKreations


Linking to:


Saturday, August 7, 2010

Scrapbook Pages and Blog Background

^credits:

Rock With You Mini

green bracket - Funk-a-licious by Heavenly Scraps

bracket template - brack-ity by Kim B

orange paper - oktoberfest by joyful heart designs

zippers closed by Gunhild

blue ribbon - Whats Up by Andrea Dickinson

green ribbon - desmond and molly

stitch and alpha- power crafter by Bren Boone Designs
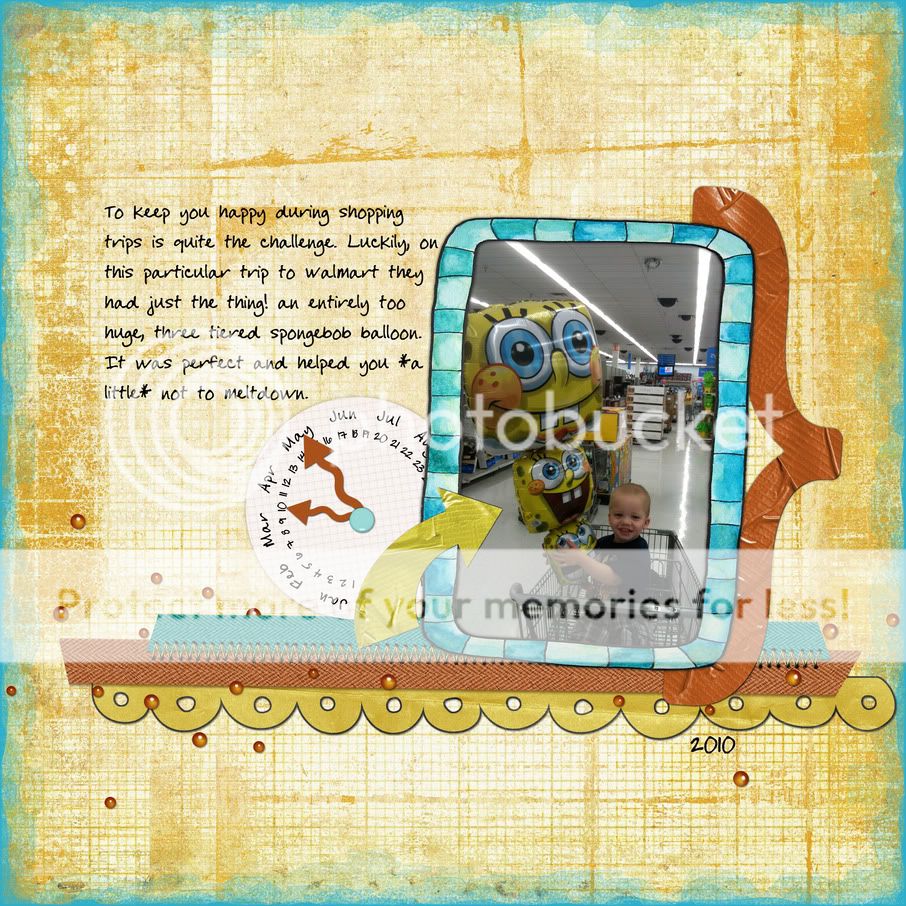


^credits:

twill ribbon - sweet by angie svoboda

stitch - Shabby Stitchin by Christina Renee

duct tape elements - Crime Scene Charlie by Charlie’s Digiscraps

bg paper - Color Theory Gold by Christina Renee

scallop - Moments by RK Design

scatter dots - Tinker Toy by Studio Flergs

frame - Birthday Freebie by Designs by Angelica E.

grid paper - I Love Paris by happy-scrap


Linking to:


Saturday, July 24, 2010

So I was on one of my digiscrapping freebie blogs tonight

http://handpickedfreebies.blogspot.com/

And I clicked on one of the freebies and it led me to Jen Martakis Designs. I loved what I saw SOOO much and thought it was worth blogging about. Look at some of these things!!!


First Official "Craft"

Yay! I finally made something. And it was free! DH took DS golfing and I stayed behind to clean. Well, while I was cleaning, I came across an old board book of DeVon's that was torn into pieces and all chewed on. I had been holding off throwing it away because it was his favorite book from about the time he was 6 months to 18 months, or so. I decided it was just time to cut the head off so I grabbed the one piece of it I had found and headed to the trash can. I stop cold as I realized I could make something out of it. I LOVE board book transformations. I went to look through the photos we have of DS, but there were no recent ones worth displaying. Being a digital scrapper, I turned to photoshop. I had a picture of him I liked, but I didn't like the distracting background. So, I cropped him out, put a background paper behind him (elegent mess paperpack by Joyce Paul Designs) and decided on wings as embellishment (Baby Kit from Newlife Dreams Designs). With a boy, I never use wings on my scrapbook pages so this was the perfect opportunity. We have no color ink, so I had no choice but to grayscale, but i'm a sucker for b&w. I just printed it out on my computer on regular paper with regular ink. I mod podged the picture onto the backside of the book page so the title of the book would be on the back. Gotta preserve those memories! I used a hard plastic calculator cover to smooth air bubbles and it worked perfectly. Filed the edges and VOILA! Now I gotta figure out what I want to do with it. Since we're pretty much nomads, it might have to be sent to Grandma to display at her house.


Shoulda cropped the picture closer. Since I turned it to black and white, you can't tell he's wearing his auntie's cowboy boots and he looks bow-legged! oh well...


Linking to:


Funky Junk's Saturday Nite Special